Lightroom Keyboard Shortcuts: Speed Up Your Photo Workflow
By Jane Allan
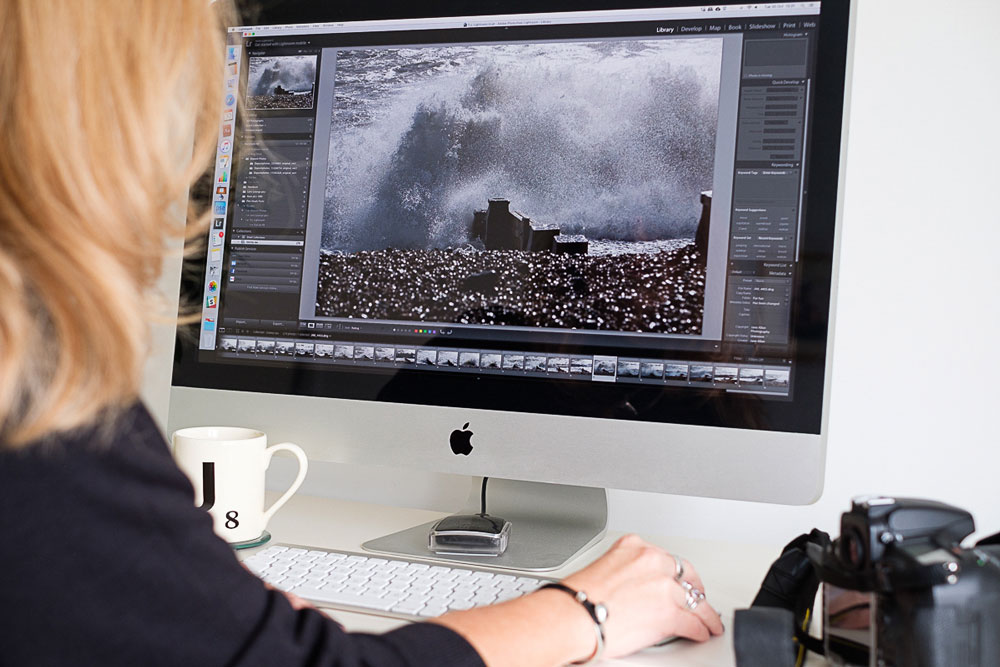
If you spend a lot of time working in Lightroom Classic, learning a handful of keyboard shortcuts can make a surprisingly big difference to your workflow.
Why take your hand away from the keyboard, find a function with the mouse and click through menus when a single key can do the same job?
Photographer Jane Allan has always been a fan of keyboard shortcuts, having used them extensively in applications such as Microsoft Word. When she started using Lightroom, she quickly began learning the shortcuts that could make everyday tasks faster.
And shortcuts aren’t only useful when you’re editing photographs. They can also be extremely helpful when culling images, organising shoots and showing photographs to clients during in-person sales sessions.
There are a huge number of Lightroom shortcuts, so rather than trying to memorise everything, it’s worth starting with the ones you’ll use most frequently.
This guide concentrates on shortcuts for navigating Lightroom Classic and selecting photographs.
Tip: Lightroom Classic can display the available shortcuts for the module you’re currently using. Press Ctrl + / on Windows or Command + / on Mac to bring up the relevant shortcut list.
Lightroom navigation shortcuts
Moving quickly between views is one of the easiest ways to speed up your workflow.
E — Loupe View
Press E to switch to Loupe View in the Library module.
Loupe View displays a single photograph, making it useful when you want to inspect an individual image in more detail.
It is particularly useful when moving through a shoot and deciding which photographs are worth keeping.
G — Grid View
Press G to return to Grid View in the Library module.
Grid View displays thumbnails of the photographs in your current folder or collection.
It is useful for:
- Quickly scanning a shoot
- Finding a particular photograph
- Comparing the variety of images from a session
- Reviewing a large number of photographs during culling
Switching repeatedly between G and E is one of the simplest ways to make image selection faster.
D — Develop Module
Press D to switch directly to the Develop module.
Rather than clicking through the Lightroom interface, this shortcut gives you immediate access to the editing controls.
Once you’ve finished editing, you can use the relevant Library shortcuts to return to your image selection workflow.
N — Survey View
Press N to enter Survey View.
Survey View allows you to display a selection of photographs together, making it particularly useful when comparing several similar images.
For example, if you’ve photographed the same subject from slightly different angles, you can select the photographs you’re considering and use Survey View to compare them together.
You can then use:
- E to return to Loupe View
- G to return to Grid View
- D to return to the Develop module
Survey View is also useful during client viewing sessions. If a portrait client can’t decide between two or more photographs, showing a small selection together can make the comparison much easier.
Ctrl/Cmd + P — Print Module
Press Ctrl + P on Windows or Command + P on Mac to access Lightroom’s printing workflow.
The Print module can be useful for creating:
- Client prints
- Multi-image layouts
- Contact sheets
- Digital-style collage arrangements
The shortcut is especially handy if printing forms part of your regular workflow.
Lightroom shortcuts for selecting photographs
For many photographers, culling is one of the least enjoyable parts of a shoot.
After spending hours photographing a wedding, portrait session, event or commercial assignment, you may be faced with hundreds or thousands of images that need to be reviewed.
The faster you can make those decisions, the sooner you can get on with editing.
These shortcuts are particularly useful for selecting and organising your photographs.
P — Flag an image as a Pick
Press P to mark the current photograph as a Pick.
A small white flag appears on the image, allowing you to identify photographs you’ve selected as keepers.
This is a simple way to work through a shoot and mark the photographs you want to retain.
U — Remove the flag
If you change your mind, press U to remove the flag from the current photograph.
This gives you a simple Pick/Unpick workflow as you work through a series.
X — Mark an image as Rejected
Press X to mark the current photograph as Rejected.
Importantly, marking an image as rejected doesn’t immediately delete the photograph. Instead, Lightroom records your decision so that you can deal with the rejected images later.
This makes it useful during an initial cull when you don’t want to interrupt your decision-making process by stopping to delete files.
Again, U can be used to remove the rejection flag if you change your mind.
B — Add an image to a collection
Press B to add the current photograph to the Quick Collection or Target Collection, depending on your Lightroom setup.
This can be particularly useful when you’re gathering photographs from different folders into a single working collection.
The advantage is that you don’t have to physically move the original files.
You can build a selection while leaving the underlying folder structure intact.
0–5 — Apply star ratings
The number keys 0 through 5 can be used to apply star ratings.
For example:
- 1 = one star
- 2 = two stars
- 3 = three stars
- 4 = four stars
- 5 = five stars
- 0 = remove the star rating
This makes it possible to rate photographs extremely quickly as you work through a shoot.
For example, you might use a five-star rating to identify your strongest images, or use several rating levels to create stages in your selection process.
The important thing is to develop a system that makes sense for the way you work.
6–9 — Apply colour labels
The number keys 6 through 9 can be used to apply Lightroom’s colour labels:
- 6 = Red
- 7 = Yellow
- 8 = Green
- 9 = Blue
Pressing the corresponding number again can remove the colour label.
There is also a purple label, but it doesn’t have a dedicated single-number shortcut.
Colour labels can be useful for organising photographs according to different stages of your workflow.
For example, you could develop your own system for identifying photographs that need attention, have been edited, are ready for delivery or have been selected for a particular project.
Caps Lock — Automatically move to the next photograph
One particularly useful shortcut for high-volume culling is Caps Lock.
When Caps Lock is enabled, Lightroom can automatically advance to the next photograph after certain actions.
For example, you could press 1 to give an image a one-star rating and Lightroom will then move to the next photograph.
This removes the need to repeatedly press an arrow key between images.
When you’re rating hundreds of photographs, eliminating that extra action can make the process considerably quicker.
A simple Lightroom culling workflow
These shortcuts become even more useful when you combine them into a consistent workflow.
For example, you could work through a shoot using the following process:
Step 1: Start in Grid View
Press G to see the whole shoot and get an overview of the images.
Step 2: Review individual photographs
Press E to inspect photographs individually.
Step 3: Reject obvious failures
Use X for photographs that are technically poor, duplicates or clearly not required.
Step 4: Pick the keepers
Press P on the photographs you want to retain.
Step 5: Rate the strongest images
Use the 0–5 keys to assign star ratings.
Step 6: Compare similar photographs
Select a group of potential keepers and press N to use Survey View.
Step 7: Edit the final selection
Press D to move into the Develop module.
The precise order doesn’t matter as much as having a repeatable process.
The objective is to make your decisions quickly and consistently rather than repeatedly reaching for the mouse.
Lightroom shortcuts for client viewing
Keyboard shortcuts aren’t just about editing speed.
They can also make a difference during in-person photography sales sessions.
When you’re sitting with a portrait client and reviewing photographs together, you don’t want to spend your time navigating menus.
Loupe View, Grid View and Survey View allow you to move quickly between different ways of displaying the photographs.
Survey View can be particularly useful when a client is choosing between several similar images. Instead of repeatedly opening and closing photographs, you can display a small selection together and allow the client to compare them.
That makes the viewing session feel smoother and more professional.
Don’t try to memorise every Lightroom shortcut
Lightroom Classic contains a large number of keyboard shortcuts, and trying to learn all of them at once is likely to be counterproductive.
Instead, identify the tasks you perform repeatedly and learn the shortcuts for those first.
For most photographers, a useful starting set would be:
| Shortcut | Function |
|---|---|
| E | Loupe View |
| G | Grid View |
| D | Develop module |
| N | Survey View |
| P | Pick/flag photograph |
| U | Remove flag/rejection |
| X | Reject photograph |
| B | Add to Quick/Target Collection |
| 0–5 | Star ratings |
| 6–9 | Colour labels |
| Ctrl/Cmd + P | Print workflow |
| Caps Lock | Automatically advance after actions |
| Ctrl/Cmd + / | Display available shortcuts |
You don’t need to know all of these immediately.
Start with the two or three shortcuts that would save you the most time, use them until they become automatic and then add another.
The biggest benefit is consistency
The real advantage of Lightroom keyboard shortcuts isn’t simply that each individual action takes a fraction of a second less.
It’s that shortcuts allow you to maintain momentum.
Instead of constantly moving between the keyboard and mouse, opening menus and searching for commands, you can keep your attention on the photographs and make decisions quickly.
For photographers dealing with large numbers of images, that can make the entire process of culling, rating, organising and reviewing photographs much more efficient.
So the next time you’re working in Lightroom Classic, try replacing a few mouse clicks with keyboard shortcuts.
Once they become second nature, you may wonder how you ever worked without them.