
How to Balance Flash with Sunset Light for Outdoor Portraits
By Uzair Kharawala
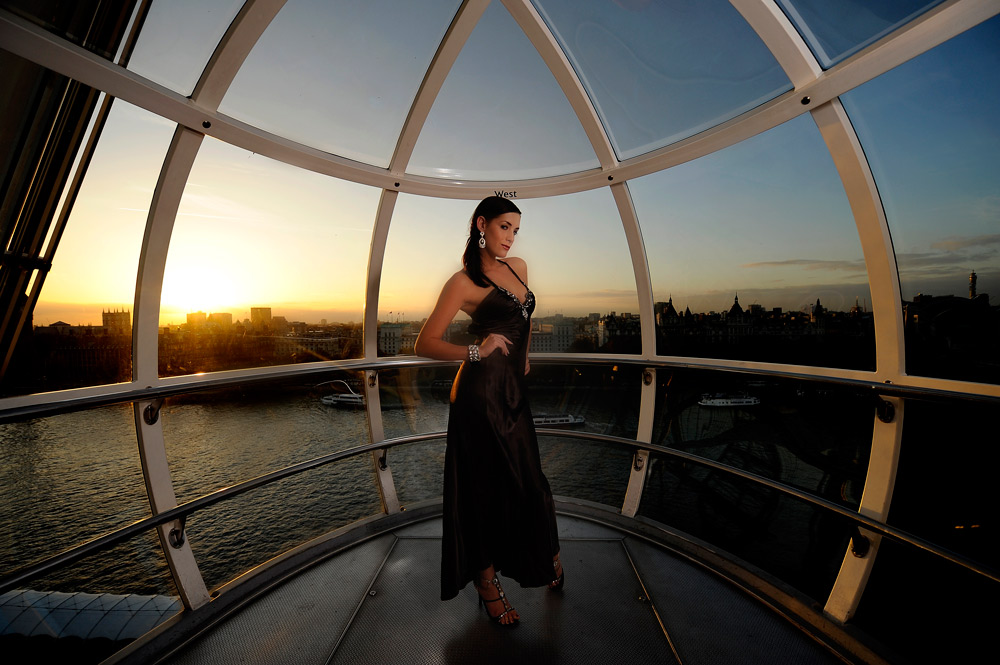
There is something particularly rewarding about a portrait photographed at sunset. The sky provides a beautiful backdrop, the light is changing by the minute and the scene can have a warmth and atmosphere that is difficult to recreate at any other time of day.
There is, however, a problem.
If you expose correctly for the person, the sunset can disappear into a pale, overexposed sky. If you expose for the sky, your subject can become a dark silhouette.
The solution is to balance the ambient light with flash.
Rather than asking the flash to light the entire scene, use the available light to create the background and atmosphere, then use flash to control the light falling on your subject.
This approach gives you considerably more control over the final image.
Start with the background
One of the simplest ways to approach a sunset portrait is to forget about the flash initially.
Set your camera exposure for the background.
Look at the sky, the buildings or landscape behind your subject and decide how you want them to appear. You don’t necessarily have to expose the sunset exactly as your camera’s meter suggests. Slightly underexposing the background can often produce richer colour and give the subject more separation.
Take a test photograph without flash.
Your subject may be too dark at this stage. That’s fine.
The purpose of this first exposure is to establish the ambient light you want in the background.
Once you’re happy with the sky, you can introduce the flash.
Let the flash light the subject
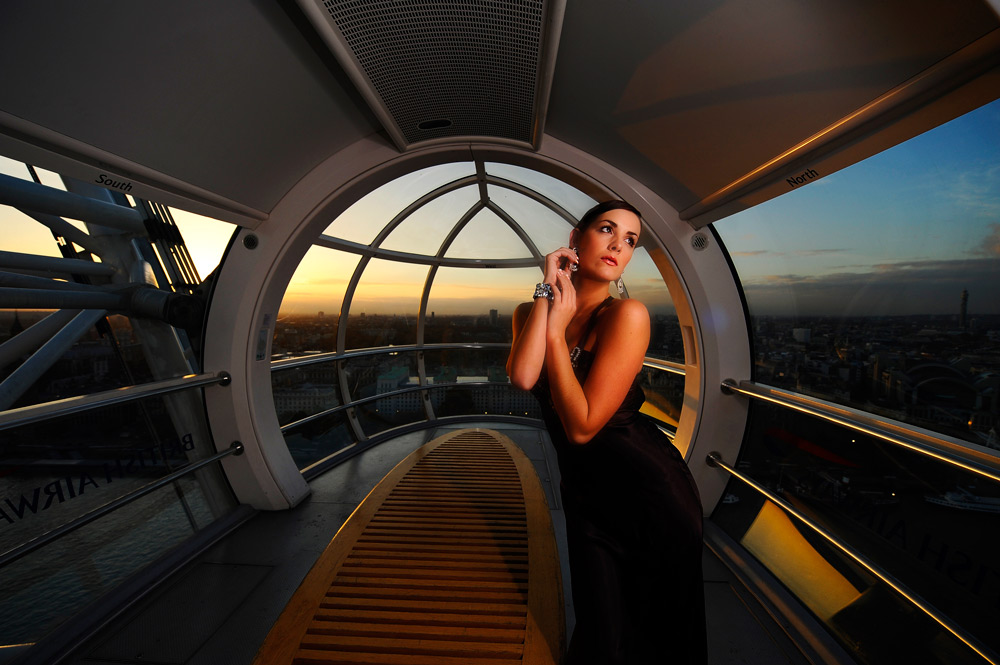
Now position your subject and add your flash.
The flash is doing a different job from the ambient exposure. It is there primarily to illuminate the person rather than the entire scene.
This is the key to the technique.
You have effectively created two exposures within the same photograph:
- The camera exposure controls the ambient background.
- The flash exposure controls the brightness of the subject.
Once you understand that relationship, balancing flash with sunset becomes much less mysterious.
Don’t make the flash look like flash
The aim isn’t usually to overpower the sunset with a burst of artificial light.
A good starting point is to make the flash appear as though it belongs in the scene.
An off-camera flash positioned to one side of the subject can create direction and shape, rather than producing the flat, front-lit appearance associated with an on-camera flash.
A softbox, umbrella or other modifier can also help soften the light, particularly for portraits.
The larger the light source appears relative to your subject, the softer the resulting light will generally be.
Remember that moving the light closer can make it appear larger relative to your subject, while also giving you more control over its intensity.
Use the exposure to control the atmosphere
One of the advantages of separating ambient exposure from flash exposure is that you can change the mood without completely changing the lighting setup.
If the background is too bright, reduce the ambient exposure.
If the sky has lost its colour, try underexposing the background slightly.
If the subject is too dark, increase the flash output or move the light closer.
This is much more useful than simply increasing the overall exposure, because doing that may brighten the background at the same time.
You are effectively controlling two different elements of the photograph.
The sun is moving — and so is your exposure
Sunset photography presents another challenge: the light doesn’t stay still.
As the sun drops, the ambient exposure can change surprisingly quickly. A camera setting that worked perfectly a few minutes ago may suddenly leave the background too dark.
This becomes particularly important when you are working on location and don’t have much time.
Keep checking the images as you work and be prepared to adjust the ambient exposure.
The flash may also need to be changed as the balance between the ambient light and the artificial light shifts.
Don’t assume that once you’ve found the right settings, they will remain correct for the rest of the shoot.
A real-world example: working against the clock
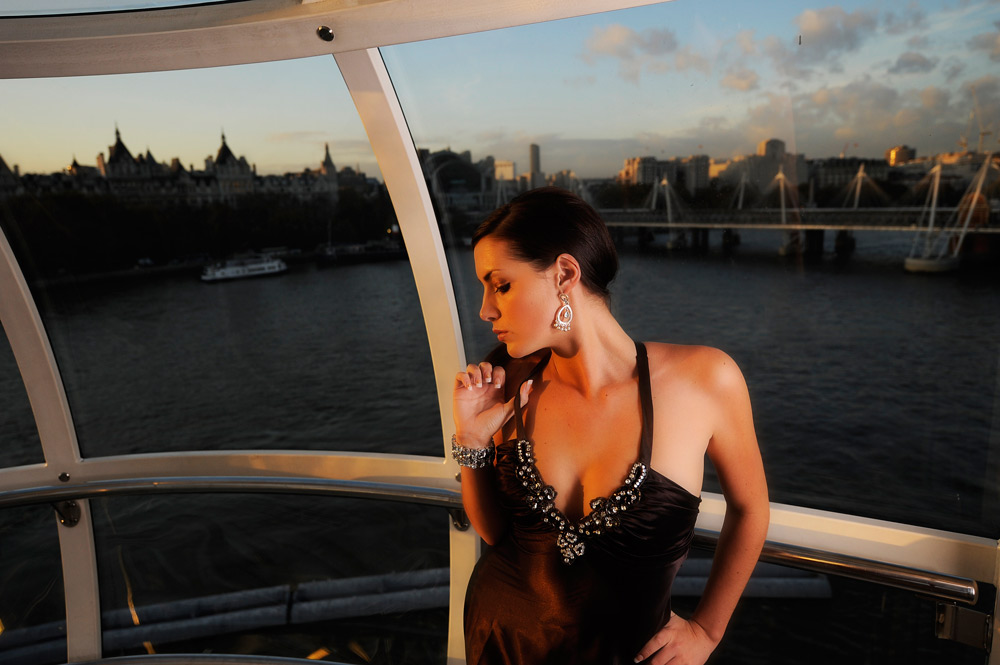
Photographer Uzair Kharawala once faced an extreme version of this problem while shooting a portrait inside a capsule on the London Eye.
The shoot had to be completed during a single revolution. There was no opportunity to stop the attraction, and the team had only a limited amount of time to set up, photograph the model and pack everything away.
The background was particularly important because the shoot was designed around the view of London and the setting sun.
The lighting therefore had to be both portable and quick to adjust.
The basic principle was the same one you can use on a much simpler portrait shoot: use the ambient exposure for the background and flash to control the model.
As the capsule moved and the light changed, the exposure and flash output had to be adjusted.
The shoot was successful largely because the technical decisions had been considered before the clock started.
That is an important lesson for any location photographer.
Plan your lighting before you arrive
You don’t need to recreate a complicated commercial shoot to benefit from this approach.
Before a sunset portrait session, think about:
- Where will the sun be?
- What do you want the background to look like?
- Where will your subject stand?
- Where can you put the light?
- Will you need an assistant?
- How will you power the flash?
- What happens if the wind becomes a problem?
- How quickly can you change the flash power?
- What will you do if the location becomes too dark?
The more of these decisions you make beforehand, the more time you can spend actually photographing.
This becomes particularly important when shooting at a public location, where you may have limited time or space.
Keep your equipment simple
For a sunset portrait, you don’t necessarily need a large lighting kit.
A single off-camera flash can be enough.
Add a suitable light modifier and, if possible, an assistant to hold the light, and you have a remarkably capable portable lighting setup.
The equipment used in the original London Eye shoot is now long out of date, but the principle behind it remains completely relevant: portable lighting gives you options when you can’t control the environment.
Modern flashes and battery-powered lights make this even easier.
The important thing is to know your equipment before the shoot.
If you’re working against a sunset, there isn’t much time to learn how your trigger system works or discover that the flash takes too long to recycle.
Take a test shot before you start posing
Don’t wait until your subject is perfectly posed before checking the exposure.
Take a quick test photograph.
First check the background.
Is the sky the right brightness? Does it have the colour and detail you wanted?
Then check the subject.
Is the flash bright enough? Does the light look natural? Are there distracting shadows?
Make the adjustments before you begin working through your planned poses.
This is particularly valuable when the available light is changing rapidly.
Shoot with a little flexibility
Sunset shoots can change quickly, so having a fixed list of poses can be useful, but don’t become too rigid.
As the light changes, a pose that worked beautifully five minutes ago may no longer work in the same way.
Use the changing background as part of the shoot.
Move the subject.
Change the angle.
Try a wider composition.
Shoot a tighter portrait.
If the sun drops behind a building or cloud, use the new conditions rather than fighting them.
Some of the best images can happen because the light changed unexpectedly.
What if you don’t have a flash?
You can still use the same principle.
A reflector can bounce some of the remaining daylight back onto your subject.
Alternatively, position your subject so that the ambient light naturally gives you the balance you need.
The important lesson isn’t that every sunset portrait requires flash.
It is that you should deliberately decide how much of the scene is being lit by the available light and how much control you need over your subject.
Flash simply gives you another tool.
Don’t forget the background after sunset
The technique isn’t limited to the few minutes when the sun is actually visible.
Once the sun has dropped below the horizon, the sky can retain colour for some time. This can be an excellent period for portraits because the ambient light becomes more manageable while the sky can still provide a rich background.
You may need to increase your flash output or adjust your camera settings as the ambient light falls.
Again, keep checking the balance rather than relying on one fixed exposure.
The important thing is balance
The most useful way to think about sunset flash photography is not as a battle between natural and artificial light.
They are doing different jobs.
The ambient exposure creates the environment — the sky, buildings, landscape and atmosphere.
The flash creates control over the subject.
Once you separate those two jobs, the technique becomes much easier to understand.
Start with the background. Establish the exposure you want. Then introduce the flash and adjust its power until your subject sits naturally within the scene.
And because sunset light changes so quickly, be ready to adjust both as you work.
You don’t need a huge lighting kit or an elaborate production to produce convincing sunset portraits. A camera, a portable flash, a suitable modifier and a little preparation can be enough.
The real skill lies in recognising what the available light is doing and then using flash to fill the gap.