How to Use Off-Camera Flash for Dramatic Portraits
By Doug Box
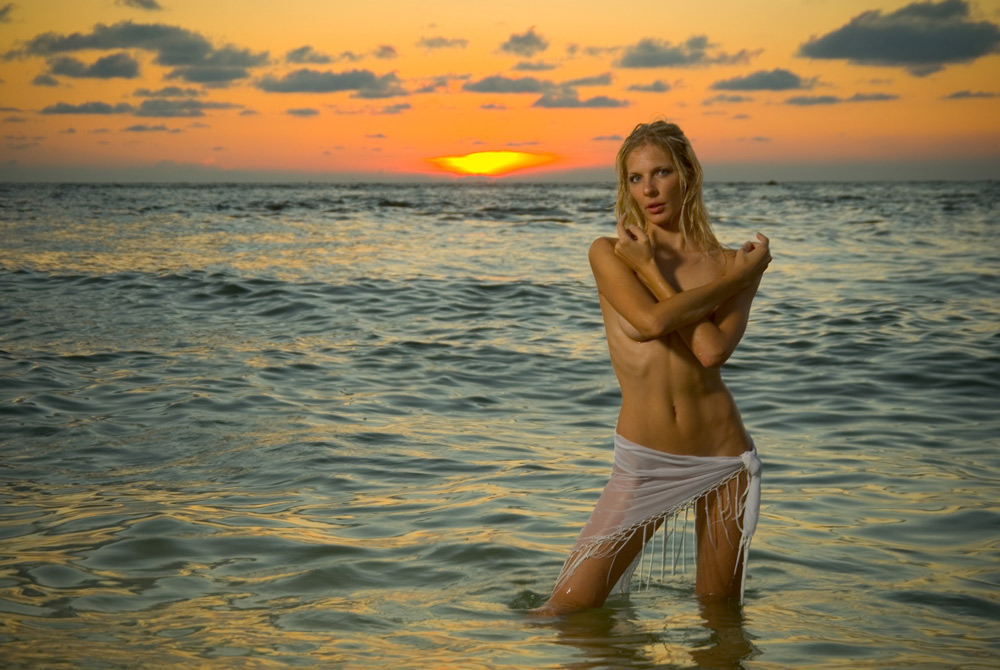
A dramatic sky, sunset, landscape or city background can make the starting point for a great portrait.
The problem is that exposing for the background can leave your subject badly underexposed. If you expose for the person instead, the sky may become washed out and lose much of its atmosphere.
The solution is to treat the background and the subject as two separate lighting problems.
Expose for the background first, then use off-camera flash to light your subject.
It is a simple technique, but it gives you much more control over the final image.
Expose for the background first
When photographing a portrait against a sunset or dramatic sky, start by ignoring the flash.
Take a meter reading from the background and decide how you want it to look.
For example, you might choose a manual exposure that keeps detail and colour in the sky rather than allowing it to become too bright.
Take a test photograph.
If the background looks good but your subject is too dark, that’s exactly what we want at this stage.
You now have a background exposure that you can work with.
The next step is to add light to the person.
Add the flash separately
Place your flash off to one side of the subject rather than directly on the camera.
Even moving the light a short distance away from the camera can make a noticeable difference.
Instead of illuminating the face evenly from the front, the light now has direction. This creates highlights and shadows that give the face and body more shape.
A small softbox or other diffuser can make the flash less harsh, particularly when photographing portraits at relatively close range.
The flash doesn’t need to light the entire scene.
Its job is primarily to bring the subject back into balance with the background.
Match the flash to your exposure
Once you’ve established the camera exposure for the background, set the flash power so that it gives you the amount of light you need on the subject.
If you’re working manually, take a test shot and adjust the flash power, distance or aperture as necessary.
A flash meter can also be useful, but you don’t necessarily need one. Modern cameras make it easy to check your results and adjust the light.
The important thing is to understand the relationship between the two exposures.
The camera exposure controls the ambient background.
The flash exposure controls the light falling on your subject.
This separation gives you considerably more creative control.
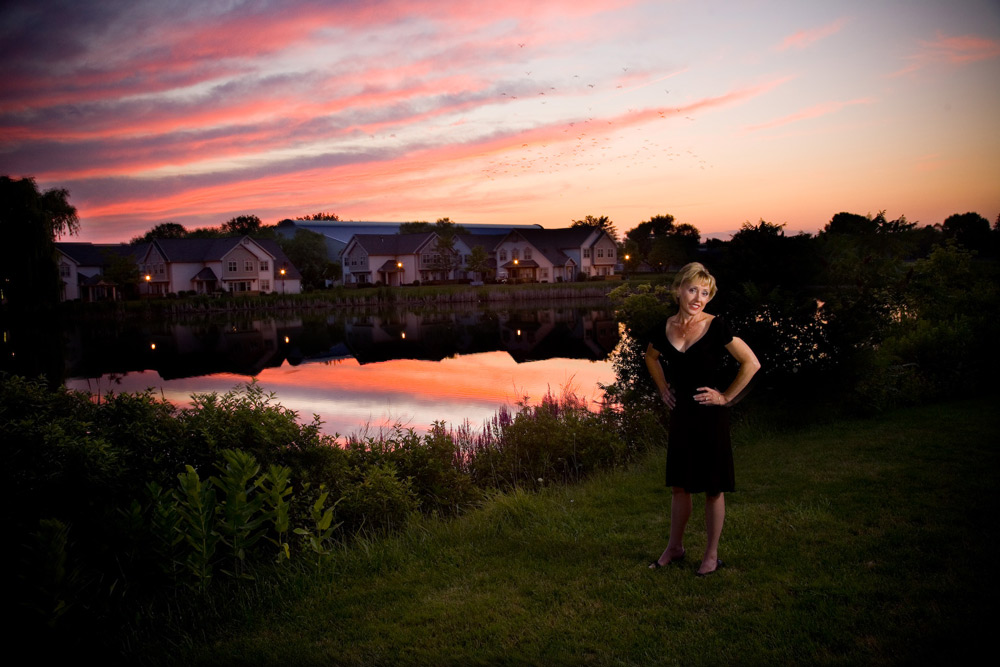
Don’t be afraid of underexposing the background slightly
You don’t always have to reproduce the background exactly as your eye sees it.
A slightly darker sky can often make the colours richer and give the photograph more atmosphere.
Try making a test exposure and then reducing the ambient exposure slightly.
The flash can then lift your subject back to the brightness you want.
This is particularly effective around sunset, when the changing light can produce strong colour in the sky while the available light on your subject is falling rapidly.
Keep the light off-camera
The biggest change in this technique comes from moving the flash away from the camera.
With the flash mounted directly above the lens, the light tends to illuminate the subject from almost the same direction as the camera.
Move it to one side and you immediately have more options.
Try positioning the light:
- 30–45 degrees to one side of the subject
- slightly above eye level
- further away for a broader, more even effect
- closer to the subject for a stronger, more directional effect
Watch the shadows as you move the light.
You aren’t looking for one “correct” position. You’re looking for the position that gives the face the shape and mood you want.
A softbox can make a small flash much more useful
You don’t necessarily need a large studio light to create this effect.
A battery-powered flash with a small softbox can be surprisingly effective, particularly for individual portraits.
The softbox makes the apparent light source larger and can produce softer transitions between highlights and shadows.
There is a trade-off, however.
A softbox reduces the amount of light reaching the subject, so you may need to bring the light closer, increase the flash power or adjust your camera settings.
This is one reason it helps to keep the lighting equipment simple and learn what it can realistically do.
Try slow shutter speeds
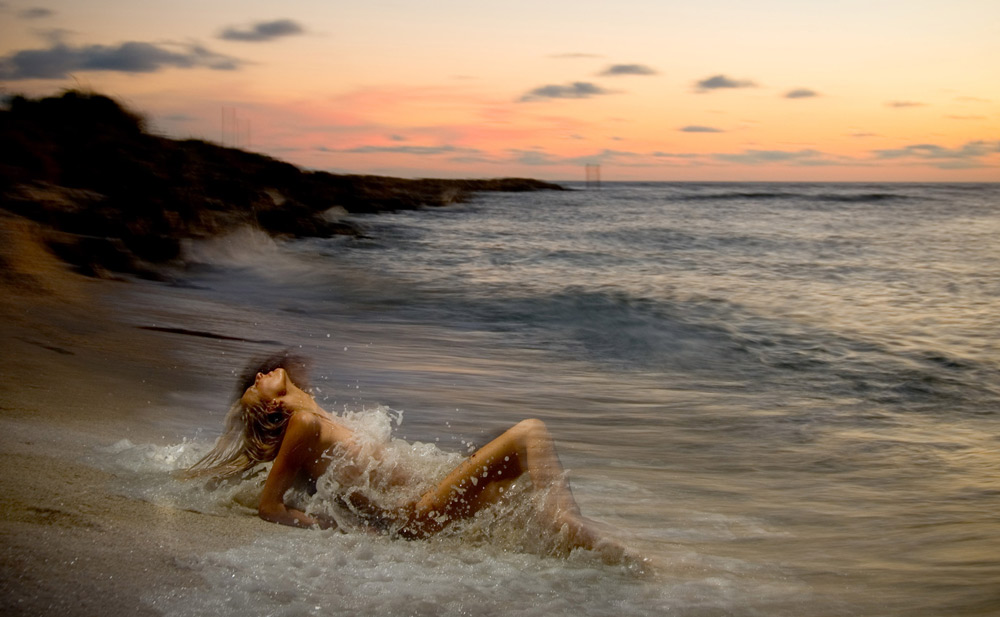
Flash photography doesn’t always mean using a fast shutter speed.
If your camera, flash and subject allow it, a slower shutter speed can be used to record movement in the ambient light while the flash helps freeze the subject.
This can produce some interesting effects around water, moving lights or other elements of the scene.
For example, a portrait near the sea might combine a longer exposure with a brief burst of flash. The ambient exposure records the movement of the water while the flash gives the subject a sharper, more defined appearance.
A tripod can help, but remember that a tripod only stabilises the camera. It won’t stop a moving subject, waves or other elements in the scene from moving.
That’s part of what makes this technique interesting.
Try the technique after sunset
You don’t have to stop when the sun disappears.
Buildings, street lights, shop windows and other artificial light sources can provide equally interesting backgrounds.
Start by metering the ambient light and deciding how you want the background to appear.
Then position your off-camera flash and light the subject.
At dusk, you can often balance the remaining daylight with artificial light to create an image that looks very different from a straightforward flash portrait.
As darkness increases, the background exposure can become an increasingly important part of the mood of the photograph.
You can combine flash sources
Once you’re comfortable with one off-camera flash, you can experiment with additional lights.
For example, one flash could provide the main light from the side while another provides a subtle fill from a different position.
You can also leave a small amount of on-camera or near-camera fill in place while using the off-camera flash as the main source.
The key is not simply to add more light.
Every additional light should have a purpose.
If the subject already looks well shaped with one light, adding another simply because you have it may make the image less effective rather than more.
Work quickly when the light is changing
Sunset photography gives you a very small window of opportunity.
The brightness and colour of the background can change dramatically within minutes, so have your equipment ready before the light reaches its best point.
Get the flash, stand and modifier positioned in advance.
Take a few test exposures.
Then concentrate on the subject rather than trying to solve the technical setup while the best light is disappearing.
This is one situation where preparation really pays off.
The basic process
When you’re faced with a dramatic background and want to photograph a person in front of it, remember this sequence:
1. Compose the photograph.
Decide where you want the subject and how much of the background you want to include.
2. Turn off the flash temporarily.
Set the camera to manual exposure if you’re comfortable doing so.
3. Expose for the background.
Protect the highlights and decide how bright or dark you want the background to appear.
4. Position your off-camera flash.
Start with the light to one side and slightly above the subject.
5. Set the flash power.
Take a test photograph and adjust the flash until the subject is correctly illuminated.
6. Fine-tune the balance.
If you want a darker, more dramatic background, adjust the ambient exposure. If the subject needs more or less light, adjust the flash.
7. Watch the background.
As the sun moves or the ambient light changes, your original exposure may need adjusting.
The beauty of the technique is that you don’t have to choose between a correctly exposed person and a dramatic background.
You can control both.
Think of the background and subject as separate lights
The most useful lesson here isn’t a particular flash setting or piece of equipment.
It’s the idea of separating the two exposures.
A dramatic background already provides much of the atmosphere. Your flash simply gives you control over the light falling on the subject.
Once you start looking at portraits this way, you can use the technique almost anywhere — on a beach at sunset, beneath dramatic clouds, beside an interesting building or in a city after dark.
Instead of accepting whatever light happens to be available, you can balance the existing light with your own.
And that gives you considerably more creative control over the finished photograph.