How to Shoot Beauty Photography: 5 Essential Tips
By Jade Gordon
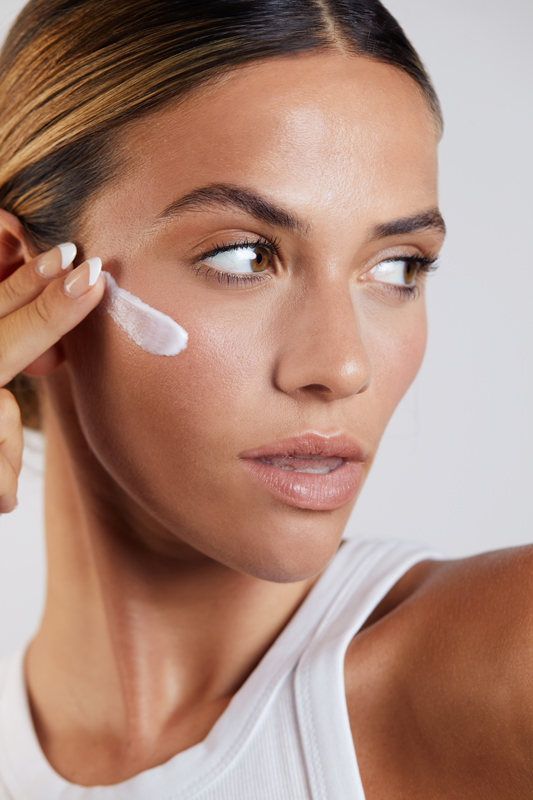
Beauty photography is all about detail. From skin and make-up to hair, lighting and expression, every part of the image contributes to the finished photograph.
It can look deceptively simple, but creating a strong beauty portrait requires much more than putting a model in front of a camera. The best results usually come from careful planning and a creative team who all understand what the shoot is trying to achieve.
If you’re looking to get started with beauty photography, here are five areas worth concentrating on.
1. Choose the right model for your concept
The model you choose can have a huge influence on the final images.
Rather than simply looking for someone with previous beauty modelling experience, think about the concept of the shoot and the qualities you need from the person in front of the camera. Beauty photography often involves close-up portraits, subtle changes in expression and carefully controlled poses, so your model needs to be comfortable working in that environment.
Before the shoot, think about the mood you want to create. Is the final image going to be elegant and understated, bold and editorial, or focused on a particular make-up or skincare look?
A good model should be able to respond to direction and give you a range of expressions and poses. At the same time, it’s important that the model feels comfortable and confident, particularly when you’re working with close-up images.
The appearance of the skin should also be considered in relation to the brief, but don’t assume that every beauty image needs flawless, blemish-free skin. If you’re creating work for a skincare or cosmetics project, for example, the brief may specifically call for particular skin characteristics or a diverse range of skin tones and textures.
The important thing is to choose a model who is right for the creative idea.
2. Create a mood board before the shoot
A beauty shoot involves several creative people, so it’s important that everyone understands what you’re trying to achieve before the day begins.
A mood board is one of the simplest ways of doing this.
Collect reference images showing the type of photography, poses, expressions, hair, make-up, styling, lighting and overall mood you want to explore. You don’t need to copy these images; they are there to communicate the direction of the shoot.
You can create separate sections for different members of the team.
For example, your make-up artist may need references for particular make-up styles and colours, while the hair stylist may need examples of the hairstyles you’re considering. The model can be given references for poses and expressions.
If you’re working with several models or creating several different looks, break the shoot down so that everyone knows which hair, make-up and styling combinations belong to each look.
Having the references available on the day also makes it much easier to keep the shoot moving in the right direction.
3. Choose your lens carefully
Your choice of lens can have a significant effect on a beauty portrait.
Telephoto and short-telephoto lenses are particularly popular for close-up portraiture because they allow you to work at a comfortable distance from your subject while producing a flattering perspective.
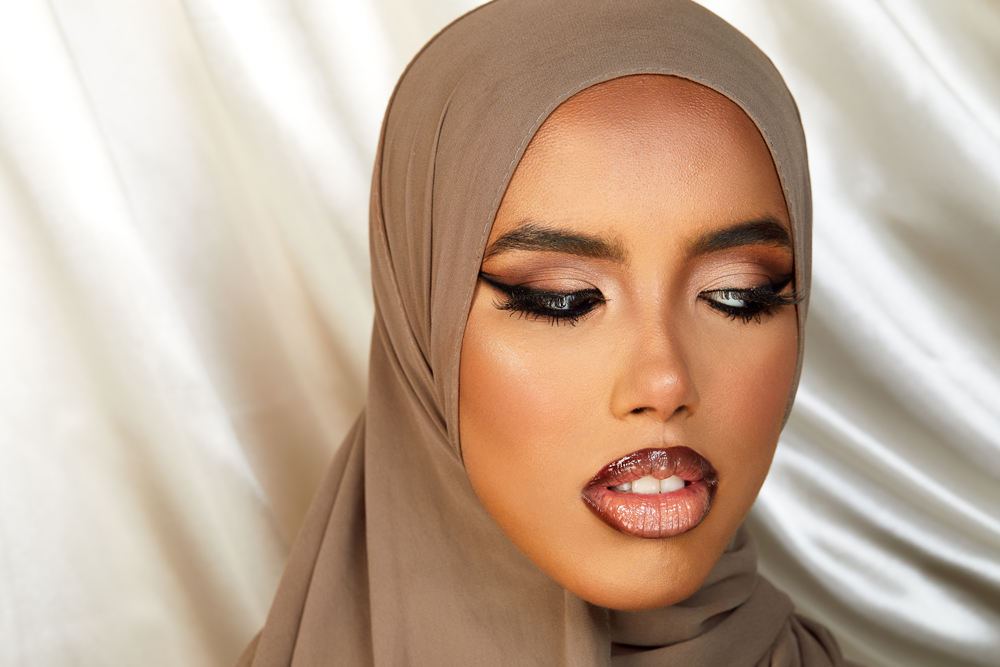
A 100mm or 105mm macro lens can be particularly useful. As well as producing detailed portraits, a macro lens gives you the ability to move in much closer when you want to photograph individual features such as the eyes or lips.
An 85mm lens is another popular choice. An 85mm f/1.4, for example, combines a useful portrait focal length with a wide maximum aperture, allowing you to isolate your subject against a softly blurred background.
However, there isn’t one perfect beauty photography lens.
The best choice depends on your camera system, studio space, the type of images you’re creating and how much of the subject you want in the frame. Don’t overlook the effect that changing your working distance and focal length has on the look of the portrait.
If you’re photographing extremely close details, a macro lens may be the obvious choice. For a wider beauty portrait, something around 85mm may give you more flexibility.
4. Build the right creative team
Beauty photography is rarely just about the photographer.
Hair, make-up and styling can completely change the character of an image, so working with people who understand the brief can make a huge difference.
Look for team members whose skills fit the concept you’re trying to create.
A hair stylist should be comfortable with the type of hair and styling required for the shoot. Your make-up artist needs to understand the desired look, while also being able to work confidently with the range of skin tones and characteristics represented by your models.
A stylist can help bring together clothing, accessories and other details that complete the image.
Don’t be afraid to give your creative team room to contribute ideas, either. You may have a particular concept in mind, but a good make-up artist, hair stylist or stylist may see something that you hadn’t considered.
The strongest shoots are often collaborative.
Most importantly, make sure everyone understands the mood board and the overall purpose of the shoot before you start. This reduces confusion on the day and gives everyone a clear creative direction.
5. Plan and test your lighting
Lighting is one of the most important elements of beauty photography.
The aim isn’t simply to illuminate the model. Your lighting needs to show the make-up, create the desired skin texture, shape the face and produce attractive highlights in the eyes.
A beauty dish is a popular choice because it can produce a relatively focused, flattering light with definition across the face. It can also create distinctive catchlights in the eyes.
One approach is to use a beauty dish as the main light positioned to one side of the model, with a larger softbox or octabox providing softer fill from the opposite side.
For example, you could place the beauty dish to the right of the model and use a softbox or octabox on the left to control the contrast and provide additional illumination.
But don’t treat this as a fixed formula. The right lighting set-up depends on the look you’re trying to achieve.
Before the main shoot, test your lighting if you can. A short test session gives you an opportunity to experiment with the position and height of your lights, the distance from the subject and the amount of fill.
Pay particular attention to the eyes. Catchlights can add life to a beauty portrait, while small changes in light position can dramatically alter the way the face is shaped.
Beauty photography is about control and collaboration
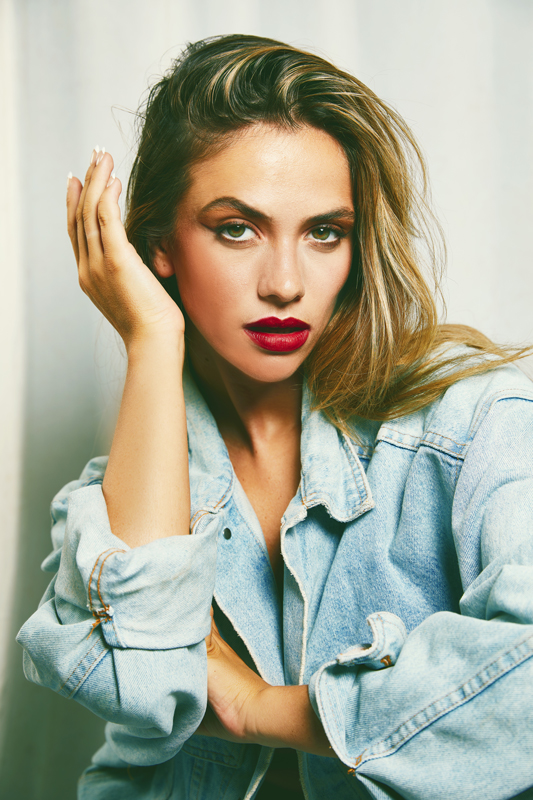
A successful beauty shoot is the result of several decisions working together.
The model needs to suit the concept. The mood board needs to communicate the creative direction. Your lens needs to give you the perspective and framing you want, while your creative team brings the hair, make-up and styling together.
Then there’s the lighting, which needs to complement everything else.
The more you can work these things out before the shoot, the more time you’ll have on the day to concentrate on creating great images rather than solving problems.
And don’t be afraid to experiment. Beauty photography gives you plenty of opportunities to try different expressions, poses, lighting arrangements, lenses and creative ideas.
The technical choices matter, but the strongest beauty images usually come from having a clear idea of what you want to create before you press the shutter.