Why Are My Photos Not Sharp? 7 Common Causes and How to Fix Them
By Terry Donnelly

We all want crisp, sharp photographs with plenty of detail. But if your images regularly look softer than you expected, the problem isn’t necessarily your camera or lens.
There are several things that can affect sharpness, from focusing and shutter speed to camera technique and even the way you are viewing the finished image.
Terry Donnelly looks at seven common causes of soft images and explains what you can do to improve your results.
1. Check your lenses and camera
It sounds obvious, but start with the basics.
Dirty or contaminated lens glass can reduce contrast and detail, particularly if there are fingerprints, smears or other marks on the front or rear elements.
Keep your lenses capped when they aren’t being used and try to minimise the amount of time the rear of a lens and the inside of the camera are exposed when changing lenses.
A clean microfibre cloth designed for optical equipment can be useful for cleaning the glass, while a blower can help remove loose dust. Avoid rubbing dust across the surface of the lens with a dirty cloth.
It is also worth remembering that dust on the lens isn’t the same thing as dust on the camera sensor. Sensor dust generally shows up as dark marks, particularly when shooting at smaller apertures, rather than making the whole photograph look soft.
Good equipment maintenance won’t fix poor focusing technique, but it removes one potential cause of reduced image quality.
2. Don’t overlook your lens filter
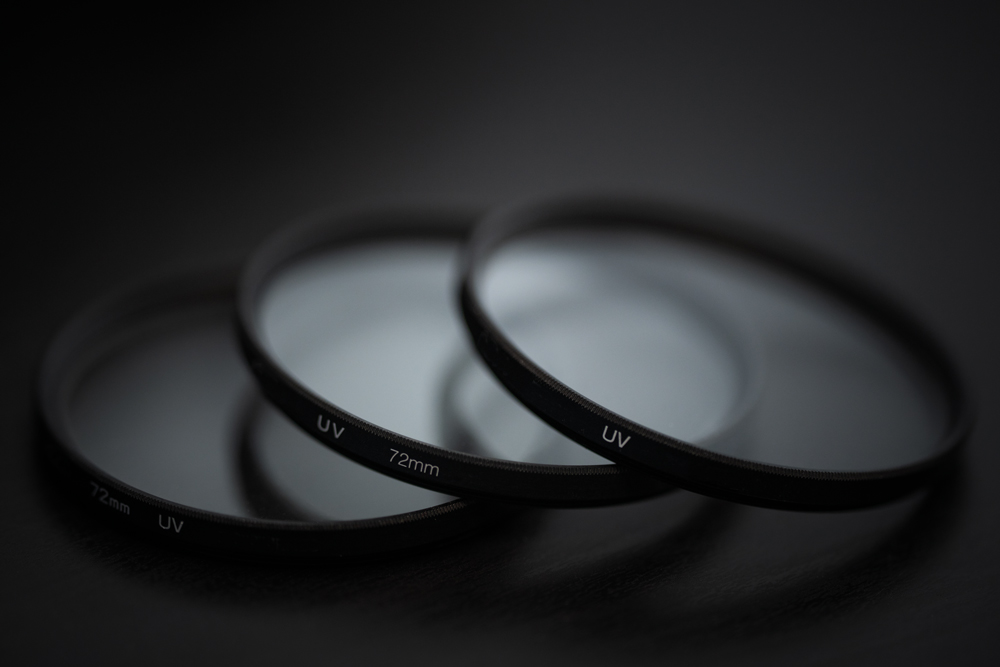
Many photographers use a clear or UV filter to protect the front element of a lens.
There are situations where this makes sense. If you’re photographing somewhere with blowing sand, spray or other conditions where the front of the lens could be damaged, an additional protective filter can be useful.
However, if you’re troubleshooting image quality, try removing the filter.
A poor-quality filter can introduce reflections, flare or a reduction in contrast, particularly when shooting towards bright light sources. If you have invested heavily in a good lens, it makes sense to use a high-quality filter if you need one.
You don’t necessarily need to stop using filters altogether. Just be aware that another piece of glass in front of your lens can affect the image under some conditions.
3. Check your autofocus mode
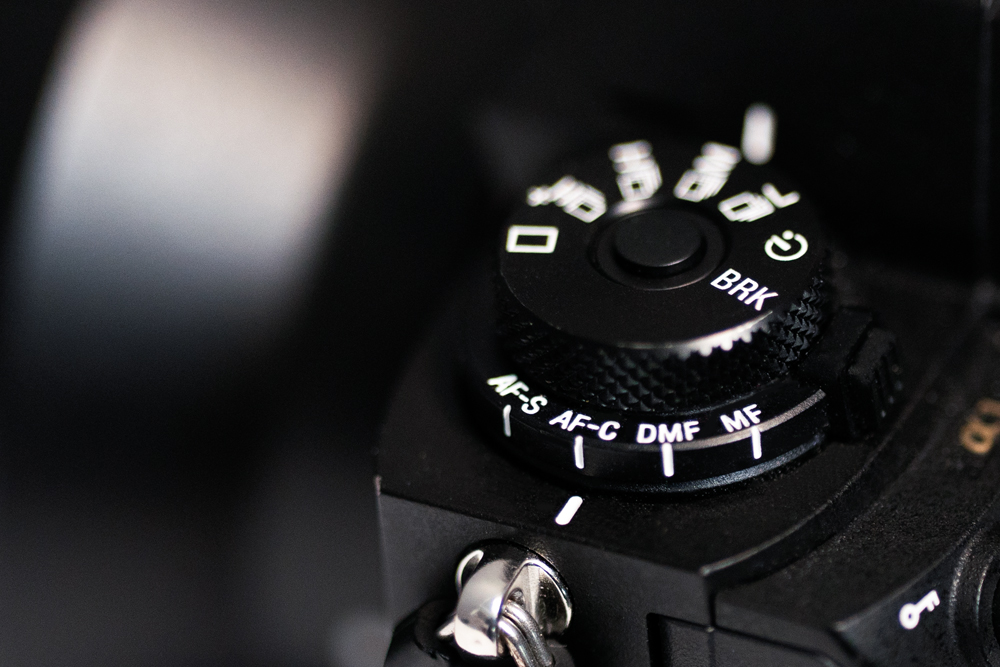
Your autofocus settings need to match what you are photographing.
For a static subject, a single-shot autofocus mode can work very well. The camera focuses once and locks that focus point.
The problem comes when either you or your subject moves after focus has been acquired.
This can be particularly noticeable when shooting with a wide aperture and shallow depth of field. Even a small movement can be enough to move your subject outside the area that was originally in focus.
For moving subjects, continuous autofocus is usually more appropriate. Depending on your camera, this may be called AF-C, AI Servo or something similar.
The camera continually adjusts focus as the subject moves.
Modern cameras can also offer subject detection and tracking modes, which can be particularly useful for people, animals, vehicles and sport.
Don’t simply choose the most advanced autofocus setting and leave it there. Learn what the different modes do and choose the one that suits the subject.
4. Make sure the camera is focusing on the right thing
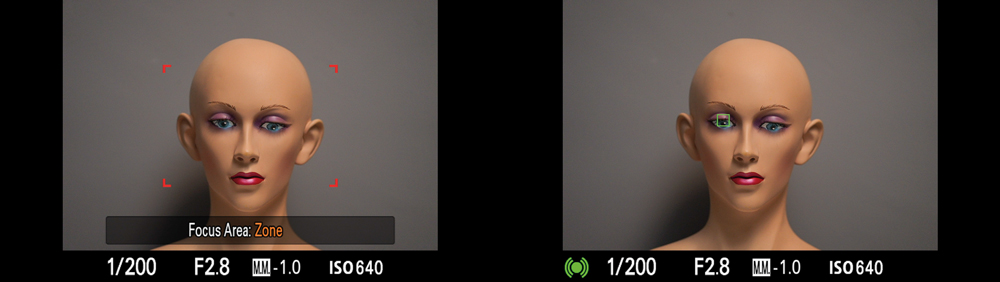
An image can be technically sharp but still look wrong because the camera has focused on the wrong part of the scene.
This is particularly obvious with portraits.
If you intend to focus on someone’s eye but the camera locks onto their nose, hair or background, the resulting photograph may look soft even though the camera has actually focused perfectly.
Your focus-area settings can make a big difference.
A very large focus area gives the camera more freedom to decide what it thinks should be sharp. That can be useful in some situations, but less helpful when you need precise control.
Modern cameras often include face and eye detection, which can be extremely useful for portrait photography and moving subjects.
If your camera has eye-detection autofocus, learn how to use it properly. It can significantly improve your hit rate, particularly when working quickly.
However, don’t assume it will always make the right decision. Keep an eye on what the camera is actually focusing on and be prepared to take control when necessary.
5. Your shutter speed may be too slow
One of the most common causes of soft photographs is using a shutter speed that isn’t fast enough.
There are actually two different types of movement to consider:
Camera movement is caused by you moving the camera while taking the photograph.
Subject movement is caused by your subject moving during the exposure.
The traditional starting point for avoiding camera shake when shooting handheld is the reciprocal rule. For example, when using a 200mm lens, you might start around 1/200 sec.
It’s only a starting point, though.
Modern cameras and lenses often have image stabilisation, which can allow you to shoot handheld at considerably slower shutter speeds in some situations. Your own technique, the focal length and the subject all make a difference.
And image stabilisation doesn’t freeze a moving subject.
If you’re photographing a person running, a bird in flight or a fast-moving athlete, you may need a much faster shutter speed regardless of how effective your lens stabilisation is.
When troubleshooting soft images, try increasing the shutter speed considerably.
If the images suddenly become sharper, you have identified at least part of the problem.
6. Understand your equipment
Good technique can’t compensate for every limitation of your equipment.
Different lenses have different optical characteristics, and some lenses will produce sharper results than others at particular apertures and focal lengths.
That doesn’t mean you need the most expensive lens available.
It does mean you should understand what your equipment is capable of and where it performs best.
If you are using an older DSLR system, you may also have access to an autofocus fine-tuning or micro-adjustment function.
Some DSLR camera and lens combinations can exhibit small focusing differences, and AF fine-tuning can be used to compensate for this.
If your DSLR offers this feature and you’re consistently finding that focus is slightly in front of or behind your intended subject, it may be worth investigating.
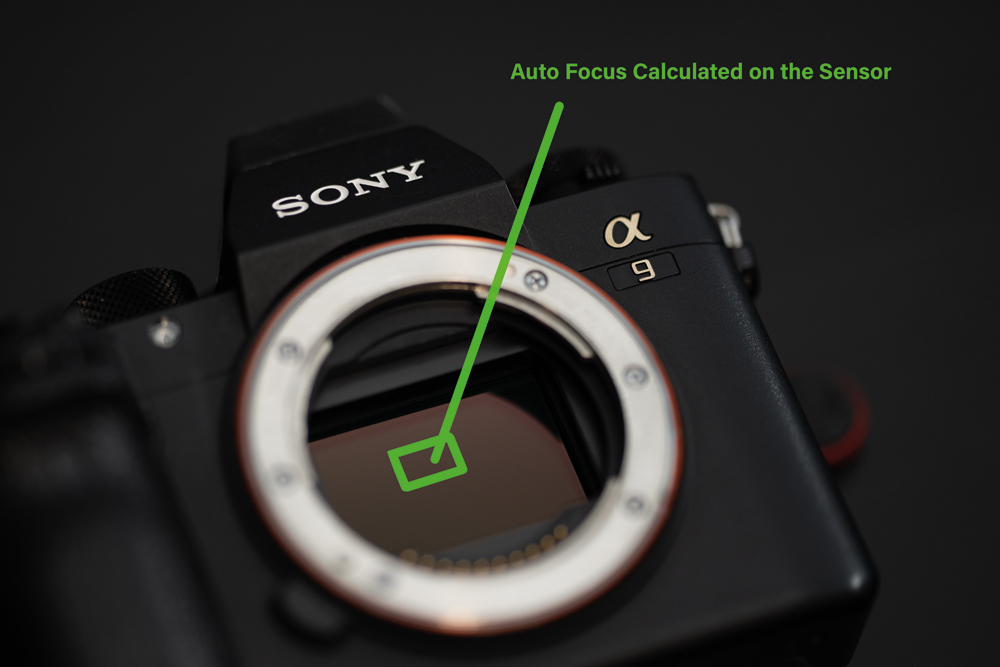
Modern mirrorless cameras work differently. With many native mirrorless lens combinations, autofocus is calculated using information from the image sensor, so the traditional DSLR micro-adjustment process generally isn’t required.
The important lesson is to understand the equipment you actually use rather than applying advice designed for a different camera system.
7. Improve your camera technique
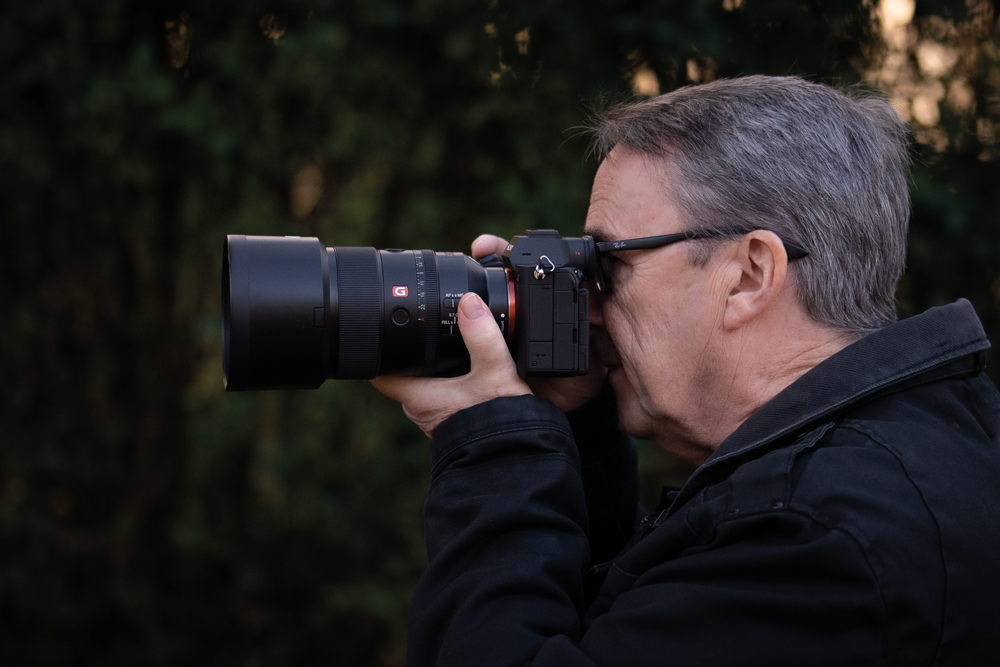
Finally, don’t underestimate how much your technique affects sharpness.
A good starting point when shooting handheld is to support the camera properly.
Use your left hand underneath the lens or camera body to provide support, rather than gripping the top of the lens. Keep your elbows reasonably close to your body and adopt a stable stance.
When pressing the shutter, try not to jab or move the camera.
For longer lenses, your technique becomes even more important because small movements are magnified.
A monopod or tripod can also be useful when the situation allows it.
Good technique doesn’t have to be complicated. The aim is simply to create a stable platform and minimise unnecessary movement while the exposure is being made.
Don’t confuse shallow depth of field with an unsharp image
There is another common reason photographers think an image isn’t sharp enough: not everything is supposed to be in focus.
When shooting at a wide aperture, your depth of field can be very shallow.
With a portrait, for example, you might have one eye perfectly sharp while the other eye, ears or parts of the face gradually become softer.
That’s not necessarily a focusing error. It’s simply the way shallow depth of field works.
If you’re shooting a portrait at a very wide aperture and want more of the face to be sharp, try stopping down slightly.
This can give you more depth of field and make it easier to keep both eyes within the zone of acceptable focus.
Is the problem really sharpness?
It’s also worth considering whether you’re looking at a focusing problem at all.
High ISO settings can introduce noise, and noise reduction can remove some of the fine detail in an image. An image may therefore look less detailed without actually being incorrectly focused.
Likewise, heavy cropping or viewing a photograph at a very large size can make normal limitations in detail much more obvious.
When assessing sharpness, look at the original file at a sensible viewing size and check exactly where the camera focused.
A simple sharpness checklist
If your photographs aren’t as sharp as you expected, work through the problem systematically.
Check your lens: Is the glass clean?
Remove the filter: Does the image improve without it?
Check autofocus: Are you using the appropriate focus mode?
Check the focus point: Is the camera focusing on the subject rather than something else?
Increase shutter speed: Does a faster shutter eliminate the softness?
Check your equipment: Is there a lens or camera-specific issue?
Improve your technique: Are you introducing camera movement?
And finally, check your aperture and depth of field. The photograph may be sharp, but the area you wanted in focus may simply be smaller than you expected.
The more you understand what is happening at the moment you press the shutter, the easier it becomes to diagnose soft images.
Rather than immediately blaming your camera or buying a new lens, change one variable at a time and see what happens. In many cases, sharper photographs are achieved not by buying more equipment, but by understanding the equipment you already have and using it more effectively.