Studio Lighting for Headshots: A Simple Guide to Better Portraits
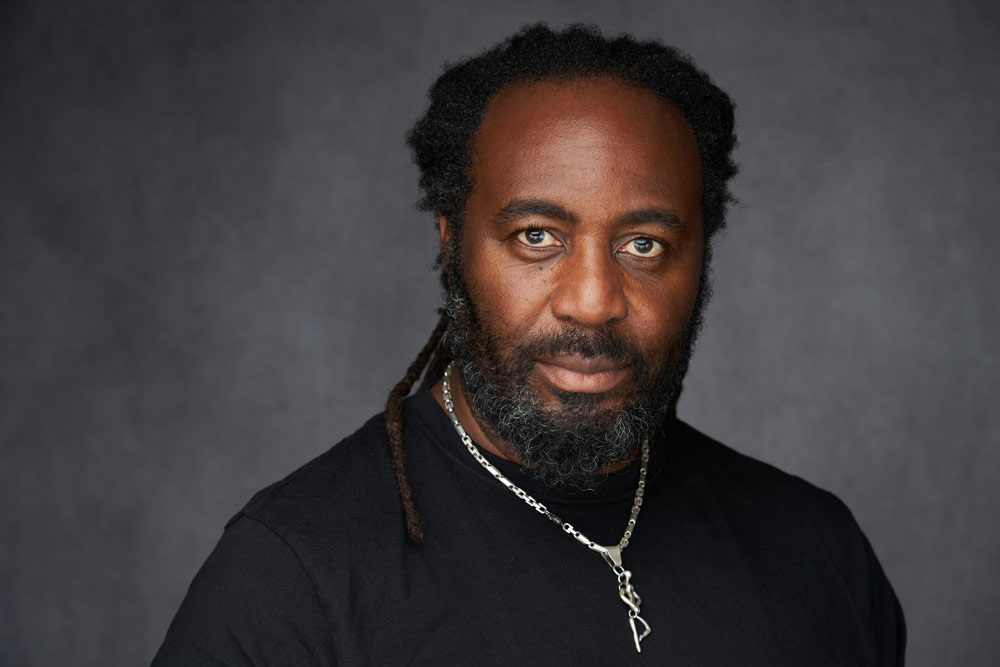
Gary Hill FSWPP ASIFGP explains how to create professional headshots using studio lighting, with practical advice on equipment, butterfly lighting, reflectors and controlling shadows.
Headshots might look straightforward, but getting them right is a real skill.
The lighting needs to flatter the subject, create dimension and produce a professional-looking image without becoming distracting.
The good news is that studio lighting gives you something extremely useful:
control.
Whether you’re photographing actors, business professionals, creatives or large groups of people for corporate headshots, a relatively simple lighting setup can produce consistently good results.
You don’t need a studio full of equipment either.
You Don’t Need Lots of Equipment
One of the biggest misconceptions about studio lighting is that you need a huge collection of lights and modifiers.
You don’t.
For many headshot sessions, a simple two-light setup combined with a reflector can give you plenty of flexibility.
My basic setup includes:
- Two studio lights
- A sturdy light stand
- A boom arm
- A good-quality softbox
- A reflector
- A suitable backdrop
A single light and softbox can produce an excellent headshot, but having additional equipment gives you more options and allows you to adjust the lighting to suit different subjects.
Invest in a Good Softbox
For me, diffusion is one of the most important considerations when choosing a softbox.
Some cheaper softboxes have diffusion material that is so thin you can clearly see the flash unit through it.
I prefer a double-diffused softbox where the light source isn’t clearly visible through the front diffusion.
The quality of the diffusion affects the quality and consistency of the light, so this isn’t an area where I’d be tempted to save money.
How Much Power Do You Need?
For most studio headshots, you don’t need enormous amounts of flash power.
Around 100–200Ws is generally plenty, particularly because the light source will usually be positioned fairly close to the subject.
That said, use what you have.
I’ve achieved equally good results with different types of lighting, including speedlights in suitable softboxes and newer continuous lighting systems.
At the end of the day:
Light is light.
Understanding how to control it is more important than having the most expensive equipment.
Choosing a Backdrop
A good-quality backdrop can make a significant difference to a headshot.
It provides a clean, controlled background and helps keep attention on the subject.
The choice of colour and texture will depend on the intended use of the photograph and the look you’re trying to achieve.
For high-volume professional headshots, portability can also become important if you’re working on location.
Three Common Headshot Lighting Patterns
The three basic lighting patterns I use for headshots are:
- Butterfly
- Loop
- Rembrandt
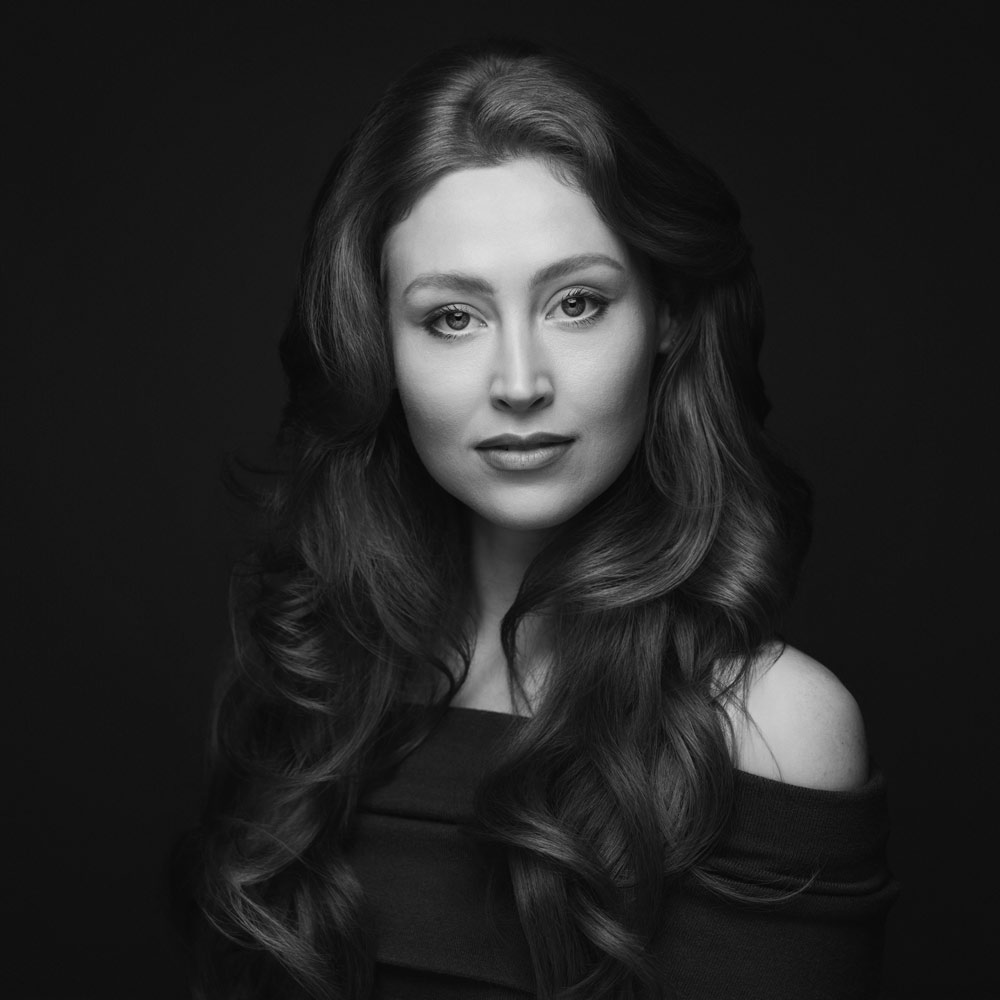
I tend to favour butterfly lighting when I’m photographing large numbers of people because it’s quick to set up, works well for a wide range of faces and can easily be modified using a reflector.
For more individual portrait sessions, I’ll use different lighting patterns to create variety and shape the light around the particular subject.
Let’s look at the butterfly setup in more detail.
Butterfly Lighting for Headshots
Butterfly lighting is one of my favourite setups for high-volume headshot photography.
The main light is positioned in front of and above the subject, creating a distinctive butterfly-shaped shadow beneath the nose.
It produces flattering, dimensional light while keeping the setup relatively simple.
Positioning the Softbox
I normally position the softbox on a boom arm.
This gives me a lot of flexibility when feathering the light, and it also means the light stand isn’t getting in the way.
A boom is particularly useful when you’re working in a smaller studio because you can position the softbox above the subject while keeping the area directly in front of them clear.
I generally use a softbox between approximately 70cm and 135cm.
The softbox is positioned just off parallel to the floor—around ten degrees.
Then I use what I call the 12/12 rule or 18/18 rule.
The 12/12 and 18/18 Rule
The first number refers to the distance from the front edge of the softbox to the tip of the subject’s nose.
The second refers to the height of the rear edge of the softbox above the tip of the nose.
So, for example:
12 inches from the nose / 12 inches above the nose
or:
18 inches from the nose / 18 inches above the nose
The important thing is maintaining the 1:1 relationship.
The same principle can be applied at larger distances—for example, 36/36.
This positioning gives the light a useful degree of feathering and helps maximise the quality of the illumination across the face.
Getting the Light Into the Eyes
The light should fall onto the face at approximately 40–45 degrees.
This creates soft transitions across the face while helping minimise hotspots.
You should also see a catchlight positioned around the 12 o’clock position in the eye.
If the catchlight isn’t appearing, don’t immediately assume the lighting setup isn’t working.
Something as simple as large eyelashes or heavy eyebrows can affect the reflection.
Try lowering the light slightly or changing the angle of the softbox.
Every face is different.
Sometimes moving the light by just an inch can make a noticeable difference.
Metering Your Headshot Lighting
I always meter the light using a handheld light meter.
For the highlight exposure, I point the meter from the subject’s forehead towards the light.
I also use a grey card to help maintain accurate exposure and colour.
While modern cameras are extremely capable, using a handheld meter gives you a consistent starting point, which is particularly valuable when you’re photographing large numbers of people.
Controlling Shadows Under the Chin
One characteristic of butterfly lighting is the shadow created beneath the chin.
Because the main light is positioned directly in front of and above the subject, the area underneath the chin and around the neck naturally falls into shadow.
This can be either an advantage or a problem depending on the subject.
For someone carrying a little more weight around the chin and neck, controlled shadow can actually help define the jawline.
Shadow can make an area appear smaller.
Used carefully, this can help create a cleaner chin line.
But you don’t necessarily want the shadow to become too dark.
That’s where your reflector comes in.
Using a Reflector to Control the Shadows
A reflector can bounce some of the light back towards the subject and reduce the density of the shadow beneath the chin.
The amount of fill can be adjusted simply by changing the height and position of the reflector.
For head-and-shoulders portraits, this is particularly effective because the reflector can be positioned just outside the frame.
Think of it like seasoning food.
You don’t necessarily want as much as possible.
You want just enough.
Adjust the reflector until the shadow has the density you want for that particular subject.
When to Use a Second Light
If you’re photographing a half-length portrait or something wider, the reflector may become more difficult to position without appearing in the frame.
In that situation, a second light can be used instead.
A clamshell-style setup gives you greater control over the shadow beneath the chin while keeping the lighting equipment out of the photograph.
This provides another level of control without fundamentally changing the character of the butterfly lighting.
Adding Background or Accent Lighting
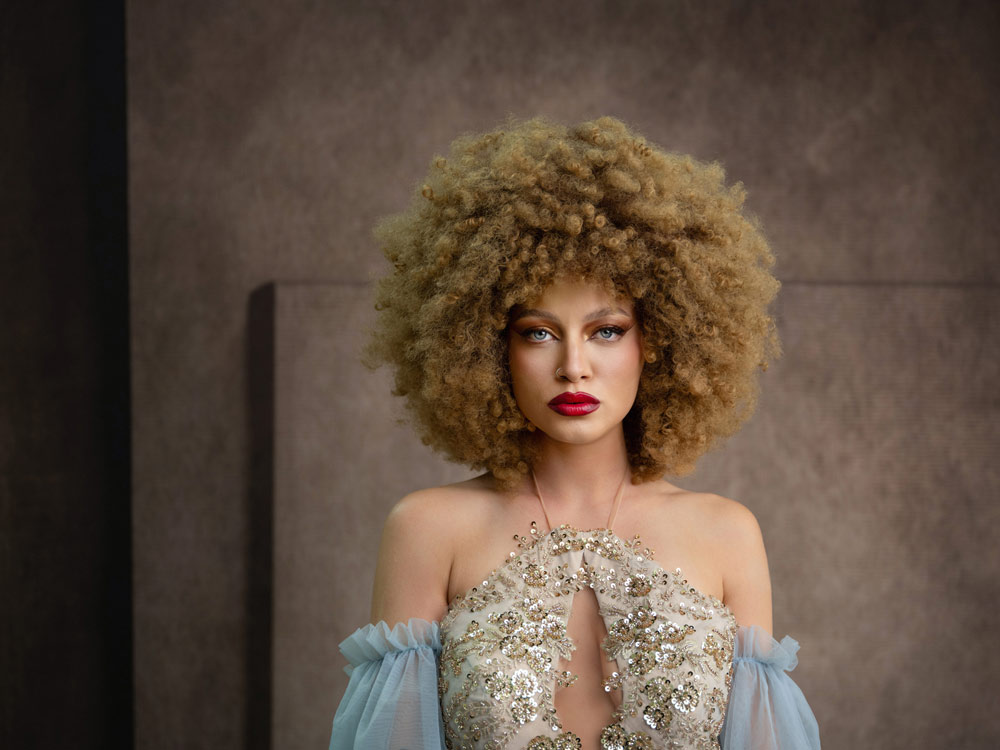
Once you’ve established your main lighting, you can introduce additional lights to change the look of the portrait.
A background light can help create separation between the subject and backdrop.
An accent light can add another layer of dimension.
But don’t add lights simply because you can.
If the single-light setup produces the result you and your subject want, you’ve already done the job.
More equipment doesn’t automatically mean a better photograph.
Why Butterfly Lighting Works So Well for Headshot Sessions
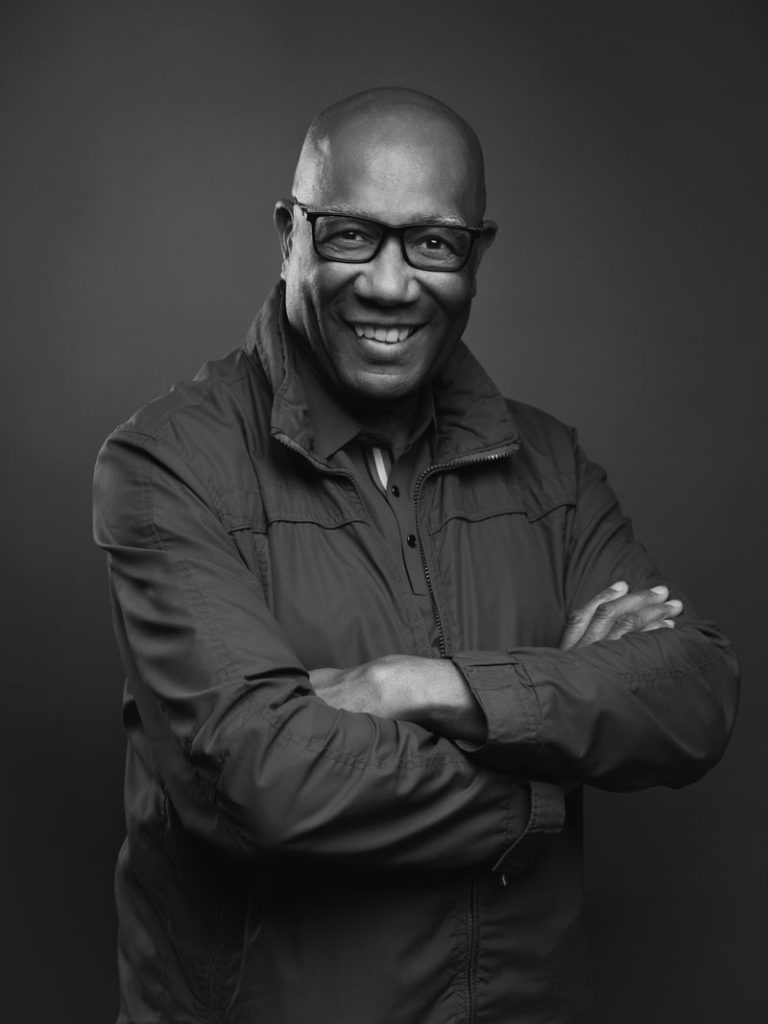
One of the biggest advantages of butterfly lighting is its consistency.
When you’re photographing large numbers of people, you need a setup that can be adjusted quickly without completely rebuilding the lighting every time.
Small changes to the height of the main light and reflector can accommodate different subject heights and facial structures.
Once you’ve practised the setup, those adjustments can be made very quickly.
For high-volume headshot sessions, that efficiency matters.
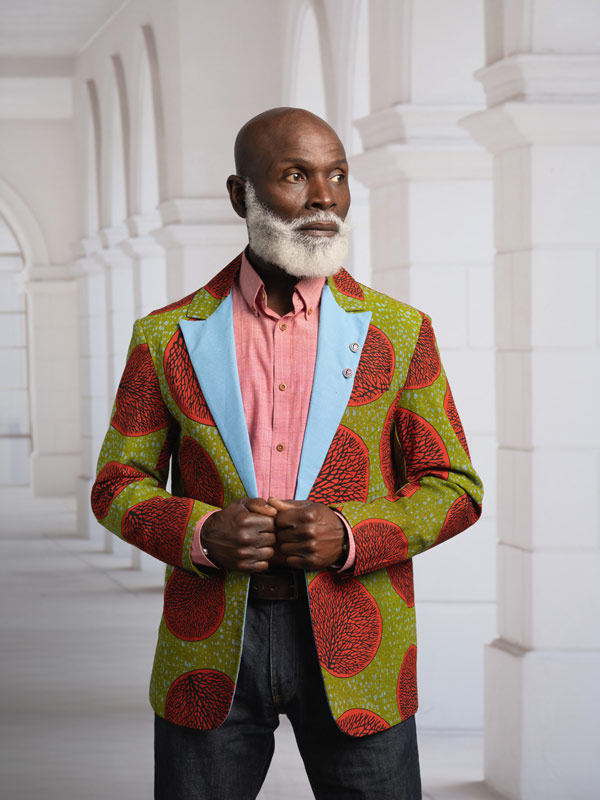
With an established workflow, I can photograph 40–50 headshots in an hour while maintaining consistent, professional results.
That’s not simply about having a fast lighting setup.
It’s about knowing your lighting well enough that the technical process becomes almost automatic.
The Most Important Part of Headshot Lighting
It’s easy to get caught up in equipment.
Which flash?
Which softbox?
Which backdrop?
Which reflector?
But equipment is only part of the equation.
The most important thing is understanding what the light is doing.
Where is it coming from?
How large is the source?
How far is it from the subject?
Where are the shadows?
How much contrast do you want?
Where is the catchlight?
And, ultimately:
Does the lighting make your subject look and feel good?
Once you understand those fundamentals, you can create effective headshots with a surprisingly small amount of equipment.
Final Thoughts
Studio headshot lighting doesn’t need to be complicated.
A good softbox, a reliable light, a reflector and a little understanding of how light behaves can take you a very long way.
Butterfly lighting is particularly useful because it is quick, consistent and easy to modify for different subjects.
Start with the basic setup.
Pay attention to the catchlights.
Watch the shadows beneath the chin.
Use your reflector carefully.
Then experiment.
The more you practise, the less you’ll think about the equipment and the more you’ll concentrate on the person standing in front of your camera.
And that’s where good headshots really begin.
About the Author
Gary Hill FSWPP ASIFGP Master Photographer
Gary Hill is a Fellow and Master Photographer with The Society of Photographers and has more than 14 years of experience as a full-time professional photographer.
His work spans high fashion, fine art and family portraiture, with particular expertise in photographing female subjects.
Gary is an international judge, speaker and educator who has delivered classes and tutorials across the UK, Europe and the United States. He is also a mentor to photographers around the world and is passionate about raising professional standards within the photographic industry.
With thanks to Click Backdrops for providing the backgrounds used throughout this feature.
https://clickbackdrops.co.uk/