Nikon D4 & D800 – Are They Game-Changers?
By Mike McNamee, with contributions from Ian Cook and Bob Bridges
Originally published as a period review of the Nikon D4 and D800.
The arrival of Nikon’s D4 and D800 prompted plenty of discussion about what the new cameras meant for professional photographers.
The D800, in particular, broke new ground with its very high pixel count, while the D4 was designed around the demands of professional photographers working at high speed and high ISO.
Our testing concentrated not just on the cameras themselves, but on what their files demanded from the photographer – particularly when it came to sharpening and image quality.
Chromatic Aberration Correction
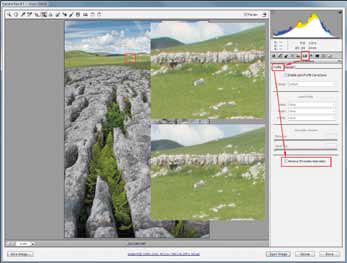
Initially we had an outbreak of panic when we failed to find the chromatic aberration slider in Adobe Camera Raw.
Apparently it was built in as “automatic” in ACR 6.7 and, contrary to initial reports which we repeated, we found it to work satisfactorily on our systems using Paul Gallagher’s files.
To repair any misconceptions, the original testing included screen grabs showing the CA correction in action.
We went back to Paul McMullin’s original shot to retest the effect of CA correction. In truth, the 24-70mm f/2.8 Nikkor is so good that we could not find any identifiable chromatic aberration, just a bit of softness at the frame edges. This probably explains the initial concerns.
Archive note: The software and camera-processing references in this section relate specifically to the software versions available when the original article was written.
D800 Sharpening
By any measure, the D800 broke new ground.
As we explained previously, it occupied positions on the specifications graph which were both new and lonely – nothing else was in the vicinity.
For our part, we had been examining the sharpening issues that such a huge pixel count brought with it and attempting to put some value judgements on the settings.
We created an action ring which produced an A2 print using snippets of 20×16-inch prints and provided 12 variants of sharpening and pre-sharpening.
Sample prints made this way on a variety of subject matter were made and routinely put before delegates at the Epson Print Academy and a number of other lectures and seminars.
The total number of viewers had exceeded 500, allowing us to build up an idea of what mattered and how much flexibility there was in the settings.
For the tests, the set of prints included:
- a portrait
- a butterfly
- an insect
- a landscape
- a sports shot of polo
- an infrared monochrome landscape
We subsequently added a town scene from Paul McMullin, shot on the D800, but nobody was able to decide on the optimum sharpening settings from the values we used.
To make judgements easier, we increased the power of the sharpening.
More recently, we added a Paul Gallagher landscape from a D800, a D4 wedding shot and a high-ISO D4 shot.
Testing Different Sharpening Settings
In conjunction with the Adobe Camera Raw pre-sharpening values, we applied a Pixel Genius high-pass sharpen at 0%, 33%, 76% and 100% opacity settings on the sharpening layer to give the matrix of 12 settings.
The highest set, 150% / 3.0, was the maximum that could be applied in ACR, with the sliders pushed fully to the right.
Our judgement of the optimum sharpening for the landscape shoot was between blocks 1 and 2 of the second row, equivalent to an Amount of 75, Radius 1.0 and a high-pass setting of 33%.
The lower-frequency detail in this shot was more affected by the sharpening and it was much easier to make an assessment than on the Paul McMullin townscape.
For the latter, the best we can say is that settings above Amount 100, Radius 1.3 and opacity 67% should be avoided. For all settings below that, the outcome was practically unaffected by sharpening at all.
Archive note: These numerical sharpening settings relate to the software and workflow used at the time and should not be treated as current Adobe Camera Raw recommendations.
D4 Tests and Sharpening
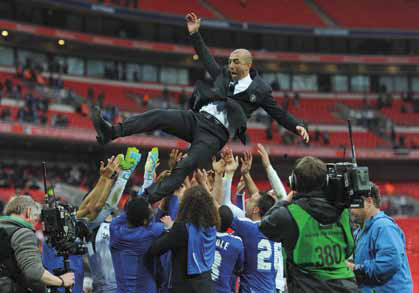
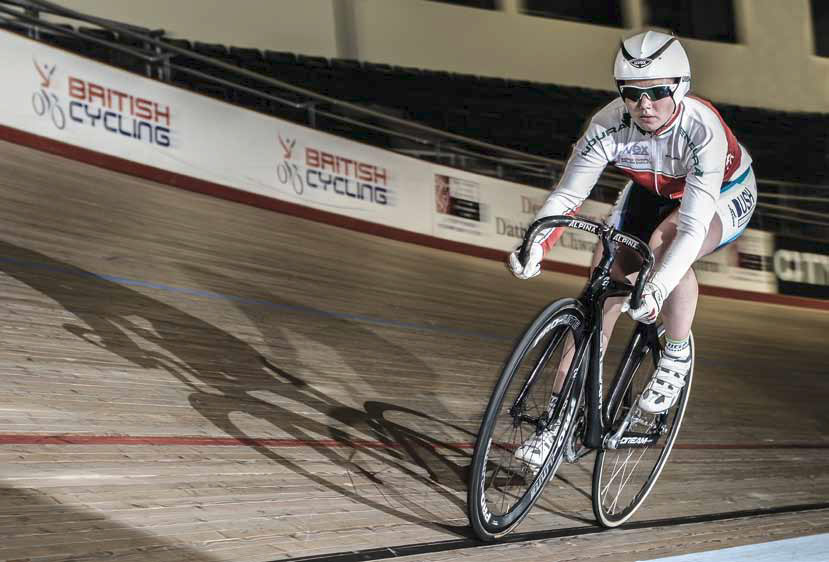
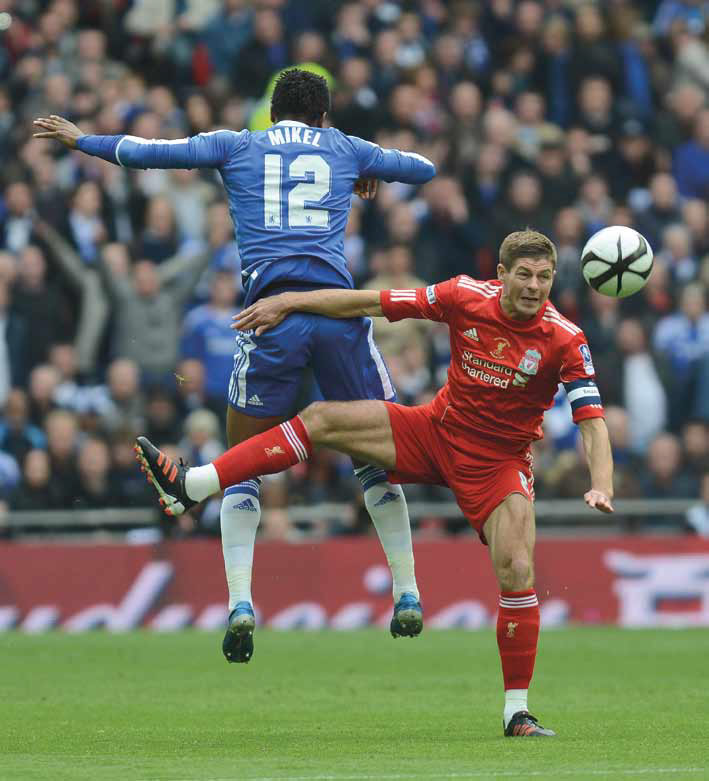
Ian Cook had used his D4 at Premier Division football matches, the FA Cup Final, golf tournaments, track cycling and a wedding.
He was working towards coverage of Olympic events and had a vested interest in becoming very familiar with its controls and foibles.
He tested the D4 alongside his more elderly D3. The images featured in the original article were all Ian’s D4 shots.
Ian Cook: General Impressions
Since the announcement in January of the Nikon D4, I had been eager to get my hands on one and see what all the fuss was about.
I own the ageing Nikon D3 and D700, so an upgrade was now about the right time. I could have gone for the cheaper D3s, but the draw of the D4 was too much to resist.
Those photographers who are shooting with the D3s might not want to pay £4,799, as they might feel the difference between them is not enough to warrant the cost of a new D4.
The controls have been improved, which is a big thing for me.
One of my pet hates about the D3 was changing the focusing point when switching to portrait mode. The addition of the joystick in both landscape and portrait is a small addition, but a welcome one.
Nikon D800 – First Impressions
From Bob Bridges
Let me start by explaining that I am a retired professional photographer, including stills, video and high-speed specialities, and therefore something of an amateur these days.
But having been brought up on large-format film cameras and owned a Nikon F and many more Nikons since the early 1970s, I do feel qualified to express an opinion about progressing to a Nikon D800.
Mine was on pre-order for three and a half months, which I believe was an unprecedented delay, even for Nikon.
This was attributed at the time to the twin disasters of the tsunami in Japan and the floods in Thailand, which affected production lines that would have been used to produce the cameras.
With a completely fresh start and newly built production lines, the D800 was a major step forward after that enforced delay, helping to explain the international demand and shortage of supply at the time.
So what were my first impressions and the plus points that mattered most to me?
- Despite all the hype, the D800 does not disappoint.
- It really is a game-changing medium-format digital camera in a 35mm body.
- It makes the most of Nikon’s best new optics, yet remains fully backward compatible.
- It has variable crop modes, not least 5:4. The file sizes are huge but will be commonplace in a few years’ time. So don’t blame Nikon for being ahead of the game.
- The ergonomics are right. Anyone who has a Nikon can use a D800 straight out of the box.
- Image quality versus speed is always a compromise. The D800 is pure quality, so live with it. Although I suspect the mechanics could be driven faster at low resolution.
- Faults and scare stories – there are always bad apples. But my D800 appeared perfect.
- Video is a bonus for me, not a priority.
- I’ve always been a Nikon man, but this one in particular makes me very happy indeed.
Bob’s Wish List
On the downside, there will always be a wish list. So here’s mine:
- Size and weight? An all-carbon-fibre body, please. But the D800 is smaller and lighter than the D700.
- Two or three simple user-defined mode buttons, just like the Canon 5D Mark III.
- A better and bigger buffer – faster frames per second, if only in low-resolution JPEG.
- A cheap and cheerful IR remote, like “all” consumer cameras, activated optionally.
- Oh… and a major price reduction. This is a wish list after all.
Summing up then, the Nikon D800 is quite perfect for me.
The image quality is as good as or better than any 35mm film and camera combination that was ever available to me when I was a working photographer.
There is, of course, a question mark over the longevity of any digital file format, but I suspect that existing NEF and DNG files will remain readable for a very long time to come.
Ian Cook: D800 and D4 in Professional Use
One thing that worried me about the D800 was that every now and again the focusing was soft.
Don’t get me wrong: on the D3 you would get one or two out-of-focus or soft images, but to only get two or three images that were sharp was a bit of a worry.
I know there are always going to be teething problems when a new model is released, but when you pay thousands for one body, you expect it to work.
The focusing-system control had changed, which meant the user manual had to come out.
I’m not one for reading manuals, as I’m a typical bloke, but I did need to on this occasion to figure out how to change from 3D, Matrix or spot metering.
The metering controls had been changed to the system used on the D7000. I suppose it was to save space on the back for the addition of some further controls and a bigger screen.
The D4 is lighter than its older brothers, the D3s and D3. For the wedding or event photographer, it would make things a bit easier on the shoulders.
The D4’s ISO performance impressed me compared with what I was getting from the D3, although the D3 image at high ISO was still very good and well usable.
I’d heard people mention that the performance was not that different from the D3s. I couldn’t agree or disagree, as I would like to see images side by side to make that judgement.
Memory Cards and Professional Workflow
The D4 came with two memory slots, one CompactFlash and one XQD slot.
I was a bit annoyed by this at first, thinking I needed to get a new card reader and new XQD memory cards.
Thankfully, when the camera was delivered there was a free 16GB XQD card and reader with it. I was not sure whether the free card and reader would be given out with every D4 sold, so I would contact your supplier to confirm.
After using the new card, I noticed that with a SanDisk Extreme3 8GB CF card, playback was rather slow.
It was only noticeable when I shot with the XQD card; playback and transfer of images from the buffer to the card was also a lot quicker, which was a good thing as seconds count for pitch-side transfers, especially for evening games when the news desks close about 30 minutes after the match kicks off.
The battery was another issue that I was a bit put off by.
The contacts on the D4 battery were on the opposite side to the batteries for the D3s and D3, which meant I now needed to carry two chargers around with me – and these chargers were not small.
Firmware
At the time of writing the original article, Nikon had released a firmware update.
The update addressed several issues, including:
- an occasional lock-up while viewing images in playback mode
- problems affecting the transfer of RAW images when network functions were used
- an issue where certain playback settings could alter shooting settings
Archive note: This firmware information is retained as historical context. The original Nikon support link has deliberately not been carried over because it is no longer a current support destination.
D4 Sharpening
The D4 has a smaller pixel count than the D800, which delivers better low-light/high-ISO performance.
In practical use, the sports professional is likely to push the ISO to levels that are normally avoided by social photographers.
In this case, though, we had high-ISO sports shots and low-ISO wedding shots from the same camera with which to make comparisons.
Ian’s rugby shot of the Dragons was taken under floodlighting at ISO 6400.
Ordinarily, RAW files were a luxury he could not afford because they were too slow for agency work, but he managed to get a few shots away in RAW for us to test.
The deterioration in image quality at ISO 6400 was obvious and sharpening required a kid-glove approach to avoid ugly artefacts.
Once again, the danger of using a monitor to judge sharpening was emphasised.
The out-of-focus background deteriorated into square blocks but this was somewhat smoothed over by the screen view.
The higher settings of the sharpening ring damaged the file for all practical purposes and our judgement was not to go above settings of Amount 40, Radius 0.5 in conjunction with a high-pass layer opacity of no more than 33%.
The higher settings of 150 / 1.5 destroyed the image before any post-sharpening was even applied.
For Ian’s wedding shot, settings of Amount 40, Radius 0.5 and high-pass opacity of 33% were judged to be on the mark, although there was some flexibility in the opacity setting.
There was far less flexibility in the RAW pre-sharpening and 80 / 1.0 would not stand any high-pass sharpening without introducing sharpening artefacts.
We recognised that in most portraits involving female subjects, the masking function would be increased to about 70 points to protect the skin tones. This still applies to the original workflow being discussed.
Shooting here was at ISO 200, 1/125s at f/8 using supplementary lighting.
Archive note: The sharpening values above are historical test results from the software and workflow available when the article was written.
Overall Conclusions
One conclusion of this second round of sharpening testing with a larger population of cameras and images is this:
Very often the viewers struggle to decide between, say, 33% and 67% opacity, with equal votes being cast for both variations.
This suggests that when you are making adjustments to your sharpening – and hopefully making test prints – it is not worth pussy-footing about in 5% increments. You will not detect them.
A more reasonable shift will be 20% opacity.
Similarly, for many images, doubling the radius of pre-sharpening will barely be detectable, although our experience with the high-ISO shots is that things go pear-shaped very quickly and a lighter touch might be needed.
Sharpening remains complex and there are still many programs out there by third parties offering “magic” improvements to your images.
The basics remain true, though.
Shots at optimum apertures, on prime lenses using heavy tripods, will always be sharper and look sharper than those made using sloppier methods.
The improvements in camera technology, as championed by the D800, require even more attention to the detail of shooting and the precautions required to obtain the full benefit from the additional quality on offer.
It is also worth reiterating the advice that prints must be used to assess the optimum sharpness of images that are intended for print output; the screen is a poor witness to what will actually happen.
Experience will, nevertheless, get you close to the right ballpark in your experiments.
Archive note
This article documents the Nikon D4 and D800 at the point of their introduction and should be read as a historical record of the equipment, software and workflows of that period. The camera models, firmware, software versions and sharpening settings discussed are not presented as current recommendations.